Home
EVORA
ELISE/EXIGE
Support
Tech
Rides
About
We Build Champions | Products-Service-Advice
MY CART
0
Your cart is currently empty.
Home
EVORA
ELISE/EXIGE
Support
Tech
Rides
About
View Products
View Tech
View Rides
Featured Products
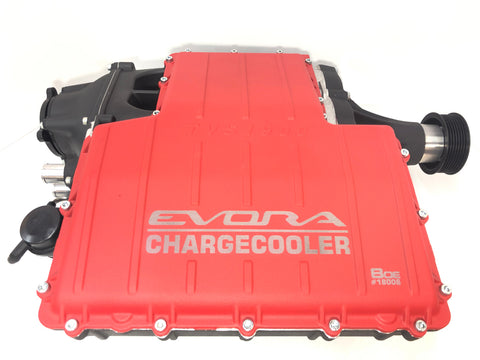
Evora Chargecooler Series
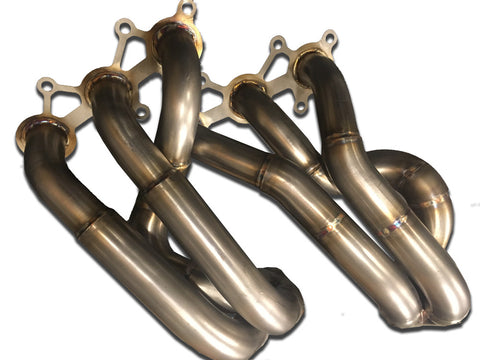
Evora Tuned Headers
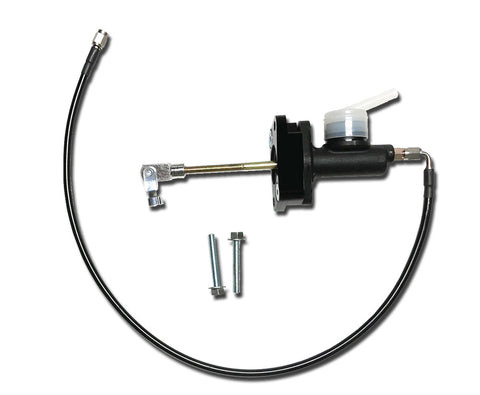
Evora Clutch Master Cylinder Upgrade
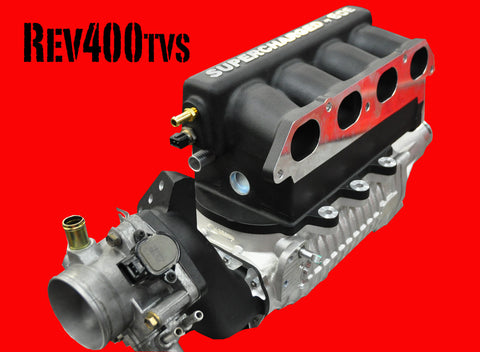
REV 400TVS Lotus Super Charger
Evora NA Stage 2
Evora Cobalt XR3 Brake Pads
Evora IPS Transmission Enhancement Kit
New Tech
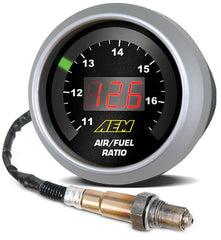
Air Fuel Ratios and Lotus
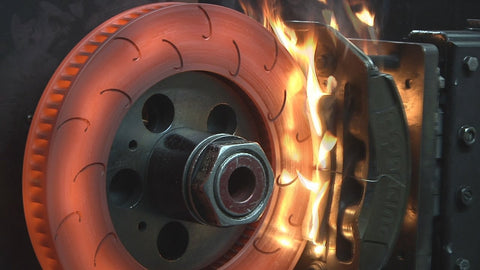
Stopping a Lotus On a Dime Every Time
Stop! - Brake Pads
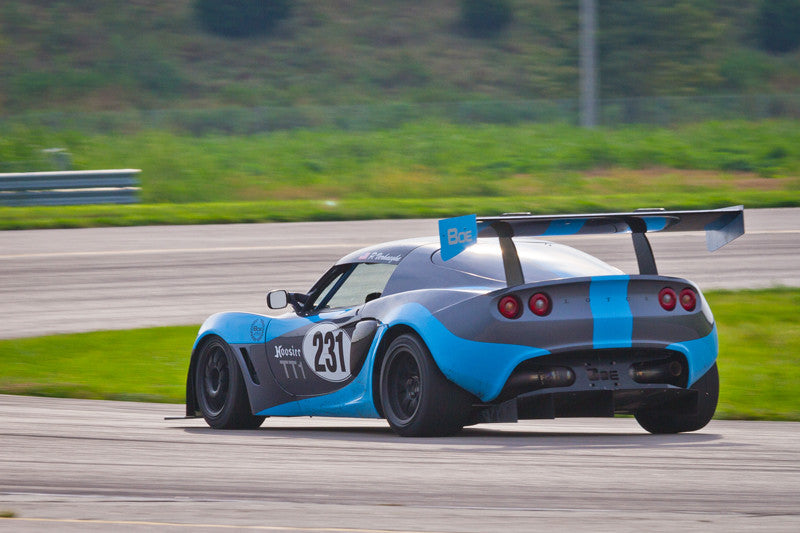
New Rides
Mike's Racer
SSM Monster!
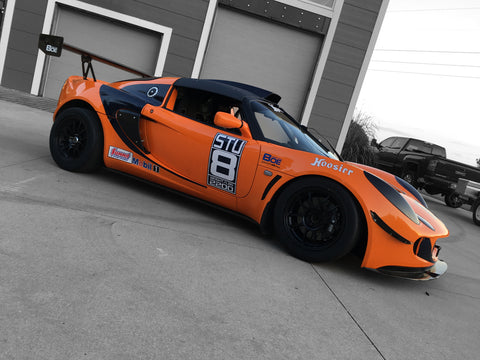
Bob's Street Legal Track Toy
Search our store